Best Programmable Thermostats for Homes Without Smart Home Compatibility
This post contains affiliate links. As an Amazon Associate, I earn from qualifying purchases at no extra cost to you.
Not every home is built for a smart thermostat. If your furnace is two decades old, your utility closet gets one bar of Wi-Fi, or you have no interest in creating a cloud account just to adjust your HVAC schedule, the smart thermostat pitch doesn’t hold up. Most online coverage treats Wi-Fi connectivity as the default, leaving homeowners with simpler needs to sort through specs on their own.
Traditional programmable thermostats solve the same core problem as their connected counterparts: they automatically adjust your home’s temperature based on a preset schedule, so you’re not heating or cooling an empty house. According to the U.S. Department of Energy, turning your thermostat back 7 to 10 degrees for 8 hours a day can save around 10% per year on your heating and cooling bills. A quality programmable thermostat delivers exactly that for $25 to $60, runs on AA batteries, requires no app or account setup, and works with nearly any conventional HVAC system.
This guide covers the best programmable thermostats for homes that don’t need smart home integration: what specs to prioritize, which three options are worth buying, how to install one yourself safely, and the mistakes that make most DIY thermostat jobs harder than they need to be.
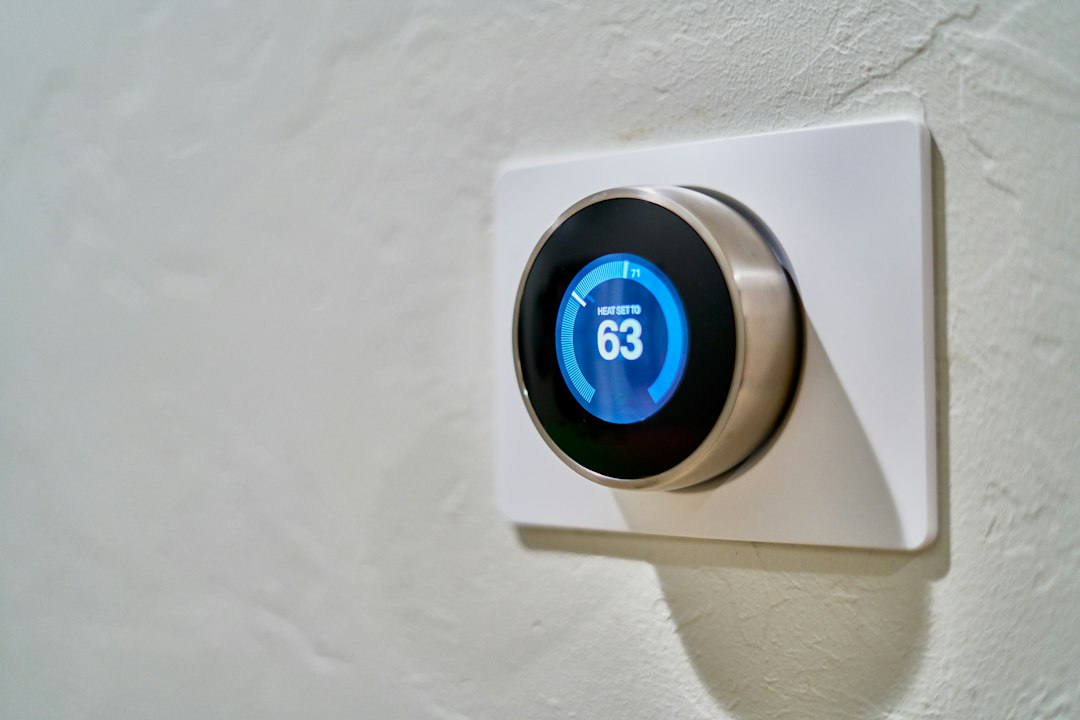
Photo by Dan LeFebvre on Unsplash
Why Programmable Thermostats Still Make Sense for Non-Connected Homes
The appeal of a smart thermostat is genuine. Remote access, learning algorithms, and energy usage reports are useful features for the right home. But smart thermostats carry a list of requirements that not every home can meet without additional cost and effort.
Most smart models require a C-wire (common wire) to maintain continuous 24-volt power. Homes built before the late 1990s often have only two wires running to the thermostat location. Adding a smart thermostat to a two-wire system means either running a new wire, installing a C-wire adapter kit, or relying on the “power steal” feature some smart thermostats include. Power steal can cause compatibility problems with certain furnace control boards, particularly on older equipment. An add-a-wire kit adds installation complexity and cost that a $35 programmable thermostat simply doesn’t require.
Wi-Fi coverage is another practical barrier. If your air handler is tucked into a basement corner or unconditioned utility closet, wireless signal strength may not support reliable smart thermostat connectivity. A device that loses its Wi-Fi connection in January and fails to run its scheduled programming is worse than a basic programmable unit that operates without any network dependency.
Beyond hardware constraints, there are legitimate personal reasons to choose a non-connected thermostat. Rental properties and vacation homes are far easier to manage with a physical lockout switch than with app-based permission settings for every tenant or guest. Privacy-conscious homeowners may reasonably prefer not to have an internet-connected device collecting household occupancy data. And for homeowners who want temperature control that works every time without troubleshooting firmware updates, a programmable thermostat is not a compromise. It’s the appropriate tool.
What to Look for in a Programmable Thermostat
Not all programmable thermostats are equal. These are the specifications that actually determine whether a unit serves your needs or frustrates you.
System Compatibility
This is the single most important factor. Before buying anything, confirm your system type by checking the wiring at your current thermostat. The three most common residential HVAC configurations are:
- Conventional 1H/1C: One-stage heating (gas, oil, or electric furnace) with one-stage central AC. The most common setup by a large margin.
- Heat pump: Uses an O or B terminal wire to control the reversing valve. A standard 1H/1C thermostat will not operate a heat pump correctly.
- Multi-stage (2H/2C): Two-stage furnaces, two-stage AC, or dual-fuel systems. Requires explicit multi-stage compatibility.
Every thermostat covered in this guide is rated for conventional 1H/1C systems. If you have a heat pump or two-stage system, verify compatibility explicitly before purchasing any thermostat.
Schedule Format
Three formats are standard across programmable thermostats:
- 5-2: One weekday schedule, one weekend schedule. Sufficient for most households with regular Monday through Friday routines.
- 5-1-1: Separate weekday, Saturday, and Sunday programs. Useful if your Saturday and Sunday schedules differ meaningfully.
- 7-day: Individual programming for every day of the week. Worth the added complexity only if your schedule genuinely varies day to day.
Four time periods per day (typically labeled Wake, Leave, Return, and Sleep) is the practical minimum for meaningful setbacks. Some budget models offer only two periods, which limits potential savings. Four is the floor you should shop for.
Display and Usability
A backlit display matters more than most buyers expect. Thermostats mounted on interior hallway walls, away from windows, can be genuinely difficult to read in low light. Look for a display you can read at a glance without walking up to it.
Programming menu depth varies considerably between models. Some units use a clean single-level interface; others bury schedule settings in a nested sub-menu. User reviews specifically mentioning the programming experience are more useful for evaluating this than the manufacturer’s feature list.
Power Source
Battery-powered thermostats work with any wiring configuration, including two-wire systems. C-wire powered units eliminate battery maintenance but require a common wire at the thermostat location. For two-wire setups, battery operation is the only clean option. Confirm your chosen thermostat supports battery operation before purchasing.
Best Programmable Thermostats for Non-Smart Homes: Three Options Compared
The three thermostats below cover distinct use cases within the non-connected category. One is non-programmable, included here because a significant share of homeowners searching for simple, app-free thermostats genuinely don’t want or need any scheduling at all.
| Feature | Honeywell T4 Pro | PSD111B | White-Rodgers 1F80-0261 |
|---|---|---|---|
| Programmable | Yes (also non-programmable mode) | No | Yes |
| System type | 1H/1C conventional | 1H/1C conventional | — |
| Schedule format | Programmable or static | N/A | Programmable |
| Backlit display | — | Yes | — |
| Power source | — | — | — |
| Adaptive recovery | — | — | — |
| Best fit | Flexible use, rentals, first-time DIY | Vacation homes, maximum simplicity | Full schedule control |
HONEYWELL TH4110U2005/U T4 Pro Thermostat
The T4 Pro is the most versatile option here because it operates in either programmable or non-programmable mode. That makes it useful when occupancy or control preferences might change, such as a rental unit where tenants want manual control one year and scheduled setbacks the next. Check the product listing for details on any included advanced scheduling or comfort features. That kind of flexibility is what simpler programmable thermostats typically omit.
Installation follows standard thermostat wiring conventions. For a first-time DIY thermostat replacement on a standard central system, consult the included documentation and verify compatibility with your system before purchasing.
PSD111B Non-Programmable 1-Heat/1-Cool Backlight Thermostat
The PSD111B is not programmable, and that’s exactly the point. For a vacation cabin that stays empty for weeks, a rental unit where you want zero tenant confusion about schedules, or a supplemental heating zone where scheduling adds no value, a clean manual thermostat with a readable backlit display is the right answer. There’s nothing to program and no sub-menus to navigate. Set the temperature setpoint, walk away. If your actual requirement is “no Wi-Fi, no app, just works,” the PSD111B is the honest choice rather than a programmable unit you’ll never program.
White-Rodgers 80 Series Blue Programmable Thermostat, 1F80-0261
The White-Rodgers 1F80-0261 is a programmable thermostat designed for households that want flexible setpoint scheduling. Its programming capability means different days can have their own setpoints rather than a single static profile. If maximum scheduling flexibility is your priority, this is the pick.
How to Install a Programmable Thermostat Step-by-Step
Safety Warning: Thermostat wiring operates at 24V, but the wiring runs back to your furnace or air handler, which uses 120V or 240V mains power. Always shut off the breaker controlling your HVAC system before touching any wiring at the thermostat. If you have a gas furnace or boiler, verify that your CO detector is functioning before restoring power after any service work. If your existing wiring doesn’t match the standard R, G, Y, W, C terminal configuration, or if you find any high-voltage wiring at the thermostat location, stop and call a licensed HVAC technician.
A standard 1H/1C programmable thermostat swap takes 30 to 45 minutes and requires only a screwdriver. Here is how to do it correctly:
-
Cut power at the breaker. Locate the circuit breaker for your furnace or air handler and switch it off. Verify the system is down by checking whether the existing thermostat display goes dark. Do not proceed if the display stays active.
-
Photograph the existing wiring before touching anything. Take a clear, close-up photo of every wire and the terminal label it connects to. Use strips of painter’s tape to label each wire if your photo is hard to read. This reference prevents most mid-installation confusion.
-
Remove the old thermostat. Most units have a snap-off faceplate. Pull the faceplate free, then unscrew the mounting base from the wall. As you disconnect each wire from its terminal, curl the stripped end around a pencil so it doesn’t slide into the wall cavity.
-
Mount the new thermostat base. Hold the base level against the wall, mark the screw holes, and fasten it securely. If the new base is larger than the old one, it will cover any paint marks or wall damage from the previous unit.
-
Connect the wires to the correct terminals. Match each wire to the corresponding terminal using your photo as a guide. Standard residential thermostat wiring uses: R (24V power, typically red), G (fan, typically green), Y (cooling, typically yellow), W (heat, typically white), C (common, typically blue or black). Tighten each terminal screw firmly. A loose wire is the most common cause of a failed installation.
-
Install batteries if required, then restore power. Snap the thermostat face onto the base. Turn the breaker back on. Test both modes: call for heat from the thermostat and confirm the furnace fires within 60 to 90 seconds. Then call for cooling and confirm the AC compressor engages. If either mode fails, turn off the breaker and recheck your wiring connections before going further.
-
Program your schedule. Set your four daily periods with target temperatures for each. A practical starting schedule for heating season: Wake 68°F, Leave 62°F, Return 68°F, Sleep 65°F. Adjust based on your actual comfort levels and occupancy times.
For additional compatibility notes specific to aging HVAC equipment, see our guide on programmable thermostats for older HVAC systems, which covers wiring quirks common in furnaces and air handlers 15 or more years old.
Common Programmable Thermostat Mistakes to Avoid
These are the errors behind most thermostat-related service calls and forum troubleshooting threads.
Buying a thermostat rated for the wrong system type
A conventional 1H/1C thermostat wired to a heat pump produces a system that either fails to switch between heating and cooling modes, or runs the compressor in the wrong direction. Before purchasing, check your existing wiring for an O or B terminal wire. If one is present, you have a heat pump and need a thermostat with explicit heat pump support. All three models in this guide are rated for conventional systems only.
Skipping the wiring photo before disconnecting
Once wires are disconnected, a white W (heat) wire and a white R (power) wire look identical. A photo takes 10 seconds and eliminates every “which wire went where” problem during installation. Make it mandatory before you remove a single terminal screw.
Setting a schedule and never revisiting the setpoints seasonally
A 68°F to 62°F setback saves real energy in January when outdoor temps are 20°F. The same setback in October, when outdoor temps may be 55°F and passive solar gains heat the house through the afternoon, makes almost no measurable difference. Revisit your temperature setpoints at the start of heating season and again at the start of cooling season. That’s two short adjustments per year.
Ignoring the thermostat deadband setting
Most programmable thermostats have an installer-accessible deadband (sometimes labeled “swing”) that controls how far the temperature can drift before triggering a cycle. A tight deadband of 0.5°F causes frequent short cycling and increased equipment wear. A wide deadband of 3°F or more causes noticeable temperature swings. A deadband of approximately 1°F is the practical default for most forced-air systems. Check your unit’s installer menu for this setting and adjust it if needed.
Mounting in a thermally compromised location
The thermostat measures air temperature at its exact wall location. Placement near a supply duct, exterior wall, sunny window, or heat-generating appliance will skew readings and cause the system to short-cycle or run longer than necessary. Thermostat manufacturer guidance consistently calls for placement on an interior wall, away from drafts and heat sources, at approximately 5 feet from the floor. If your current location has any of these problems, correct it when installing the new unit.
Programming Schedules That Actually Reduce Your Energy Bills
The ENERGY STAR program estimates that proper use of programmable thermostat setback schedules can save homeowners up to $180 per year on energy costs. “Proper use” means consistent temperature setbacks during unoccupied and sleeping hours, not just owning a programmable unit with a flat setpoint.
The DOE’s general guidance is to set back 7 to 10 degrees from your comfort temperature during hours the home is empty or you’re asleep. Each degree of setback over an 8-hour period saves roughly 1% on heating or cooling energy for that portion of the day. That adds up across an entire season.
A practical four-period starting schedule for heating season:
- Wake (6:00 a.m.): 68°F
- Leave (8:00 a.m.): 60°F
- Return (5:30 p.m.): 68°F
- Sleep (10:00 p.m.): 65°F
For cooling season, reverse the logic. Allow the home to warm when unoccupied and pull it back to comfort levels before you return:
- Wake (6:00 a.m.): 78°F
- Leave (8:00 a.m.): 85°F
- Return (5:30 p.m.): 78°F
- Sleep (10:30 p.m.): 80°F
Households with pets should moderate the away setpoints. An 82°F to 83°F away setpoint during cooling season keeps most pets comfortable while still saving energy. For heating, a 65°F away setpoint is the sensible floor if animals are present during the day.
Higher-efficiency HVAC equipment reduces the baseline cost of running these schedules, but the percentage savings from setbacks remain proportional regardless of equipment efficiency rating. For more on how efficiency ratings affect your actual operating costs, see our breakdown of Energy Star ratings for HVAC equipment.
Frequently Asked Questions
Can I install a programmable thermostat if my system only has two wires?
Yes, and this is one of the strongest reasons to choose a traditional programmable thermostat over a smart one. Most smart thermostats require a C-wire for continuous 24-volt power, and two-wire systems don’t have one. Add-a-wire adapters are available, but they add cost and installation complexity, and some furnace control boards don’t work cleanly with them. Traditional programmable thermostats, including the Honeywell T4 Pro and White-Rodgers 1F80-0261, can be a good fit for simpler wiring setups. Confirm battery operation and wiring compatibility are listed in the product specs before buying, but battery compatibility is common for this thermostat category.
Will a programmable thermostat save me money if I don’t use the scheduling feature?
No, and that’s worth being direct about. A programmable thermostat holding a flat setpoint all day performs identically to a manual non-programmable unit. The energy savings come from the scheduled setbacks, not the device itself. That said, initial programming at installation is typically quick and doesn’t require frequent adjustment after that. If you genuinely don’t want to deal with any programming, the PSD111B is the honest answer. Buying a programmable thermostat and leaving it at a static setpoint is money slightly better spent on the simpler model.
Are these thermostats compatible with a heat pump?
The three models featured here are rated for conventional 1H/1C systems only, which includes gas furnaces, oil furnaces, electric furnaces, and standard central air conditioners. Heat pumps require a thermostat with O/B terminal support to control the reversing valve that switches the system between heating and cooling modes. If you have a heat pump, you’ll see an O or B wire at your current thermostat. Do not install a conventional 1H/1C thermostat on a heat pump system without confirming heat pump compatibility is explicitly listed in the product documentation.
Do I need a permit to replace a thermostat?
In most U.S. jurisdictions, a direct like-for-like thermostat swap on a low-voltage 24V system does not require a permit. The work falls under low-voltage homeowner DIY scope in the majority of states. However, permit requirements vary by municipality and jurisdiction, so confirm with your local building department if you’re uncertain. Any work involving changes to the high-voltage wiring serving your HVAC equipment does require a licensed electrician or HVAC technician and almost certainly requires a permit. For a straightforward swap where you’re matching existing wires to the same terminals on a new device, permits are generally not required.
Programmable thermostats without Wi-Fi or app integration are not a step backward. For homes with older HVAC systems, two-wire setups, unreliable wireless coverage, or owners who want straightforward temperature control without cloud dependency, they are the right tool.
The Honeywell T4 Pro handles the widest range of situations with its programmable or non-programmable flexibility. The White-Rodgers 1F80-0261 gives you maximum scheduling flexibility with its programmable format. And if no scheduling at all is what you actually need, the PSD111B is the clean, no-frills answer.
Pick the one that matches your system type and your habits, install it with the breaker off, program a sensible setback schedule, and you’ll see consistent energy savings without adding a single app to your phone.
If this guide helped you narrow down your decision, bookmark it before installation so the wiring reference and schedule starting points are easy to pull up mid-job.
Related Reading