How to Replace a Home Thermostat: Wiring, Swap, and Setup Guide
This post contains affiliate links. As an Amazon Associate, I earn from qualifying purchases at no extra cost to you.
Introduction
Replacing a thermostat is one of the few HVAC upgrades most homeowners can tackle themselves without calling a contractor. A faulty thermostat won’t heat or cool your home reliably, and if you’ve noticed temperature swings or unresponsive controls, a replacement often solves the problem for under $300 in parts. But the task involves electrical connections that demand care: reverse a wire, and your system won’t run; misidentify the voltage, and you risk damage.
The good news is that standard residential thermostats use a simple, color-coded wiring system that’s consistent across manufacturers and system types. If you understand what each wire does, how to verify compatibility with your HVAC equipment, and when to step back and call a professional, the swap takes less than an hour. This guide walks you through the entire process, from checking whether a new thermostat will work with your system to configuring a smart model and integrating it with your home network.
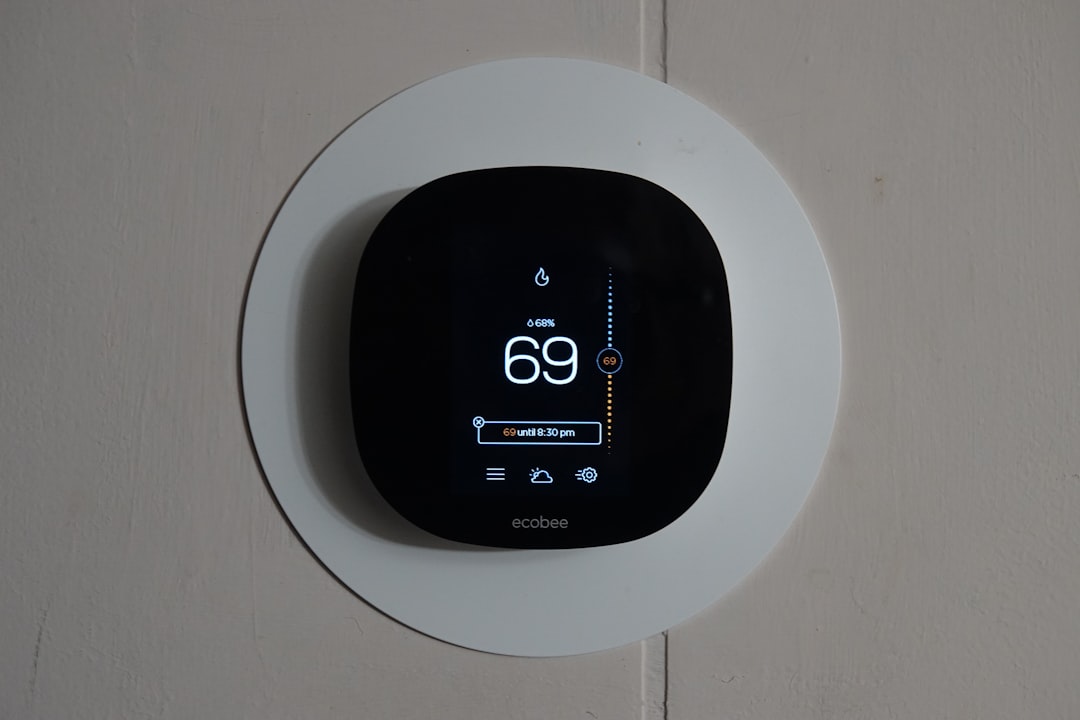
Before You Start: Check Thermostat Compatibility
Not every thermostat works with every HVAC system. The most common incompatibility occurs when a new smart thermostat requires a common wire (the “C” terminal) but your current system doesn’t have one, or when your equipment operates on 24V but the new thermostat is designed for 12V. Identifying these constraints before you buy ensures the new unit will integrate seamlessly.
Verify your system type. Thermostats are wired differently depending on whether your home uses a heat-only furnace, cooling-only air conditioner, or heat pump. Gas furnaces and heat pumps both use low-voltage 24V control circuits. The thermostat itself never touches high-voltage power directly; it simply signals the furnace or compressor to turn on or off. If you’re unsure which system you have, look at your outdoor unit: a heat pump is larger and has a fan that runs year-round in heating mode, while a standalone air conditioner operates only in summer.
Check for a common wire. Many older thermostats operate on “two-wire” or “three-wire” control circuits, meaning only two or three low-voltage wires run from the furnace to the thermostat. Newer smart thermostats, including the Google Nest Learning Thermostat (4th gen) + Nest Temperature Sensor (2nd gen) - Obsidian, often require a common wire (C-wire) to power the WiFi radio and display continuously, not just when the system calls for heat or cooling. If your current thermostat has five wires or more, you almost certainly have a common wire already in place. If it has fewer than five wires and you want a smart model, you may need to run an additional wire from your furnace to the thermostat, or select a smart thermostat designed to work without a common wire.
Confirm voltage compatibility. On the inside of your current thermostat cover, look for a voltage label. Nearly all residential systems operate at 24V. If your system is older or uses radiant floor heating with a relay, it might be 120V. Voltage mismatch will prevent the new thermostat from powering on. Check your furnace’s control board for the transformer specifications before purchasing a replacement.
Review system requirements. Smart thermostats provide compatibility lists online. Check the manufacturer’s database by entering your furnace or air handler model number. The ecobee Smart Thermostat Premium and Honeywell Home T9 both publish compatibility information on their websites. Review your system’s specifications and the manufacturer’s documentation to confirm support before purchasing.
Understanding Thermostat Wiring and Terminal Functions
Thermostat wires are low-voltage control lines that signal your HVAC equipment to start or stop heating and cooling cycles. They carry far less electrical current than household lighting circuits and are not dangerous to touch once power is off. Each wire serves a specific function, and color coding provides consistency across manufacturers.
The standard wiring color code:
- R (Red): 24V power from the transformer (usually red)
- C (Common): Return path to the transformer (usually black)
- W (Heat): Call for heat, energizes the furnace relay (usually white or yellow)
- Y (Cool): Call for air conditioning, energizes the compressor relay (usually yellow)
- G (Fan): Call for fan-only operation (usually green)
- O/B (Changeover): Heat pump reversing valve for heating vs. cooling mode (usually orange)
Your current thermostat may not have all six wires. A heat-only system needs only R, C, W, and G. A heat pump needs R, C, W, Y, G, and O/B. An air conditioner alone uses R, C, Y, and G. If your thermostat has wires you don’t recognize, take a photograph before removing the old unit and consult the furnace’s documentation or reference Honeywell’s thermostat wiring guide for technical details.
Why wire order matters. When you remove the old thermostat, note which wire connects to each terminal. Thermostat terminals follow the same color and label code at both the equipment and the new device. If you install a wire into the wrong terminal, the system will either not run, run continuously, or behave unpredictably. Reversing the R and C wires can short the low-voltage transformer and permanently damage it.
Take a clear photograph of the old thermostat’s terminals before disconnection, capturing the wire colors and their terminal assignments. This single step prevents confusion during installation and eliminates guesswork. Use your phone’s camera to capture the wire-to-terminal mapping in bright light.
Tools and Materials You’ll Need
Most thermostat replacements require only basic hand tools. You’ll also want safety-related items, particularly given the electrical nature of the work.
Essential tools and supplies:
- Smartphone or camera for photographing the old thermostat wiring
- Screwdrivers (flathead and Phillips head, small and medium sizes)
- Wire strippers or a utility knife (to expose wire ends if connections are corroded)
- Wire nuts or terminal connectors (your new thermostat usually includes these)
- Needle-nose pliers for handling small wires
- Drywall anchor removal tool or flathead screwdriver (to pry off the old thermostat cover)
- Electrical tape (optional, for organizing bundles)
- Multimeter (optional but helpful for testing for power on wires)
- Flashlight or headlamp for viewing inside the furnace cabinet
- Notepad to record wire colors and terminal labels
Step-by-Step Thermostat Replacement Process
Important Safety Note: Thermostat wiring operates at 24V and is not directly dangerous, but the transformer powering it is connected to 120V household current. Before beginning work, turn off power to your HVAC system at the breaker and set the thermostat to OFF mode. If you are uncomfortable working near electrical equipment or have questions about your system’s wiring, stop and consult a licensed HVAC technician. This work should not proceed without basic electrical comfort and understanding of your specific system.
Follow these steps carefully to ensure proper installation and system function:
-
Remove the old thermostat cover and photograph the wiring. Unscrew the front cover of your current thermostat and photograph the terminals and wire connections in clear light. Note the color of each wire and the terminal letter (R, C, W, Y, G, or O/B) it connects to. Some wires may be twisted together at a single terminal. This photograph is your reference during reinstallation.
-
Disconnect the wires and unscrew the base from the wall. Loosen each terminal screw and gently pull the wire end free. Do not pull on the wire itself; grip the terminal end directly. Once all wires are disconnected, unscrew the mounting bracket from the wall. If any wires are faded or color is unclear, wrap small pieces of tape around each wire and label them with the old terminal letter.
-
Prepare the mounting bracket for the new thermostat. Remove the old mounting plate completely and discard it. Clean the wall area of dust and debris with a dry cloth. Position the new thermostat’s mounting bracket, checking that it is level with a spirit level if possible. Some newer thermostats (like the Google Nest Learning Thermostat (4th gen) + Nest Temperature Sensor (2nd gen) - Obsidian) may come with their own mounting hardware; others mount directly to a standard 24V thermostat base. Screw the bracket firmly to the wall, ensuring the fasteners are properly seated and tight.
-
Insert the wires into the corresponding terminals on the new thermostat. Consult the instruction manual for the new unit to identify terminal locations. Strip approximately 0.5 inches of insulation from each wire end if the ends are corroded or rough. Insert each wire into its proper terminal (R to R, W to W, Y to Y, C to C, G to G, and O/B to O/B) and tighten the terminal screws firmly. A gentle quarter-turn after the wire is seated is usually sufficient; do not over-tighten, as you may crack the plastic terminals.
-
Double-check all connections and verify the mounting. Remove the thermostat briefly and review your photograph against the connections, confirming each wire is in the correct terminal. Reinstall the thermostat on the mounting bracket and ensure it is mounted securely to the wall, with no gaps between the device and the bracket. Confirm that all terminal screws are tight by attempting to pull each wire gently.
-
Restore power and test the system. Turn the breaker back on. The new thermostat should power on within a few seconds. Set it to HEAT or COOL mode (depending on the season) and lower or raise the temperature setting by 5 degrees to trigger a test call for heating or cooling. Listen for the furnace or compressor to activate within 30 seconds. If the system does not respond after 2-3 test attempts, turn off the breaker and recheck all wire connections, paying special attention to the R and C terminals.
Smart Thermostat Setup and Configuration
Once the wiring is correct and the system responds to manual commands, configure the thermostat for optimal performance. Smart models offer scheduling, geolocation, and integration with voice assistants that traditional thermostats cannot provide.
Connect to your WiFi network. Most smart thermostats have a setup process through their companion mobile app. Download the app, create an account, and select “Add Device.” The thermostat will display a WiFi network name on its screen or within the app, and you’ll enter your home network password to connect. Ensure your home WiFi is stable and located reasonably close to the thermostat; a weak signal prevents the device from receiving updates or responding to remote commands.
Configure heating and cooling schedules. Smart thermostats allow you to program different target temperatures for different times of day or days of the week. A common pattern is to reduce heating by 2-3 degrees during nighttime (10 PM to 6 AM) or lower cooling by the same amount during working hours (8 AM to 5 PM). Scheduling reduces energy consumption and monthly utility costs without sacrificing comfort. According to Energy.gov guidance, programmable and smart thermostat use can reduce your heating and cooling costs by up to 10 percent annually.
Set up geolocation and away modes. If your smart thermostat supports geolocation, enable location services in the app. The device can automatically switch to an “away” temperature when all household members leave and return to comfort settings when someone arrives home. This feature is especially valuable in mild seasons when heating or cooling is intermittent.
Enable remote access and voice control. Most smart thermostats integrate with Amazon Alexa, Google Assistant, or Apple Siri. Link your thermostat account to your voice assistant app and enable the skill. You’ll then ask your assistant to “set the temperature to 72 degrees” or “turn off the heat” from anywhere with an internet connection. Voice control adds convenience but requires stable internet connectivity to function reliably.
Review energy reports and fine-tune settings. After one to two weeks of operation, review the energy usage reports available in the thermostat’s app. These reports show heating and cooling runtime, estimated costs, and comparisons to similar homes in your area. Use this data to identify whether your schedules are effective or need adjustment.
Common Thermostat Replacement Mistakes and How to Avoid Them
Mistake 1: Installing wires in the wrong terminals. Reversing the R (power) and C (common) wires can short the low-voltage transformer and permanently damage it. Before tightening any terminal screws, triple-check your wiring photograph against the new thermostat’s terminal diagram. If you’re uncertain, take a high-resolution photo of both the old and new thermostat terminals and compare them side-by-side. Old installations sometimes used non-standard wire colors, so do not rely on color alone.
Mistake 2: Forgetting the common wire requirement. If your system has only four wires (R, W, Y, G) and you install a smart thermostat that requires five wires, the device may not power on or may power cycle repeatedly. Before purchasing a smart model, verify either that your system has a C-wire already in the wall or that the new thermostat explicitly supports operation without a common wire. Some smart thermostats ship with a “C-wire adapter” that provides limited functionality without a true common wire, though newer models typically require a run of new low-voltage wire from the furnace to the thermostat.
Mistake 3: Ignoring system compatibility constraints. Heat pumps require the O/B (reversing valve) wire to switch between heating and cooling modes. Air-conditioner-only systems do not have this wire. Installing a heat pump thermostat on an air-conditioner-only system will result in equipment running continuously or not at all. Always verify your system type before purchasing a new thermostat.
Mistake 4: Not turning off power during installation. While thermostat wires carry only 24V, the transformer powering them is connected to 120V household power. Accidental contact with transformer terminals or high-voltage leads poses an electric shock risk. Always switch off the HVAC breaker before beginning work and confirm that power is off by testing the old thermostat’s display.
Mistake 5: Improper terminal screw tension. Too loose, and the wire will slip out during operation, causing the system to behave erratically. Too tight, and you may strip the screw or crack the plastic terminal. Tighten terminal screws until the wire is firmly held and cannot be pulled free by hand, then stop. If you hear cracking sounds or feel excessive resistance, back off slightly.
Mistake 6: Failing to test immediately after installation. Many people assume the new thermostat is working without triggering a test call. Immediately set the system to HEAT or COOL and raise or lower the temperature by 5 degrees to force a response from the furnace or compressor. Listen for the relay closing inside the furnace cabinet and the sound of the blower or compressor starting. If nothing happens within 30-45 seconds, stop and recheck all wire connections before troubleshooting further.
Frequently Asked Questions
Can I replace my thermostat myself, or do I need a professional?
For most homeowners with basic mechanical skills, thermostat replacement is a straightforward DIY task. The work involves only low-voltage wiring and does not require knowledge of refrigeration or high-voltage electrical systems. However, if your system is very old, uses non-standard wiring, or you are uncomfortable working near the furnace, hiring a professional is a reasonable choice. A licensed HVAC technician can verify compatibility, test system performance after installation, and ensure the settings are optimized for your home’s heating and cooling patterns. Professional installation typically costs $150 to $300 in labor.
Do I absolutely need a common wire for a smart thermostat?
Most modern smart thermostats require a common (C) wire to power their WiFi radio and display continuously. If your current thermostat has five or more wires, you likely already have a common wire. If it has fewer than five wires and the C-wire is not present in your wall cavity, you have two options: run a new 18-gauge wire from the furnace to the thermostat (a moderate DIY project requiring drill work and wall access), or select a thermostat specifically designed to work without a common wire. Carefully check the manufacturer’s specifications before purchasing to avoid compatibility issues.
What should I do if my new thermostat doesn’t turn on after installation?
First, verify that power is restored at the breaker. Next, remove the thermostat from the wall and inspect all wire connections, ensuring each wire is firmly seated in its terminal and the terminal screws are tight. Check that both the R (power) and C (common) terminals have wires connected; a missing common wire will prevent many smart thermostats from powering on. If both R and C are present and tight, try testing for voltage at those terminals with a multimeter if you have one available. If power is confirmed but the thermostat still won’t activate, contact the manufacturer’s support line or consult a licensed technician to diagnose the issue.
Will my old HVAC system work with a new smart thermostat?
Most furnaces and air conditioners built after 2000 are compatible with modern smart thermostats. Check the thermostat manufacturer’s compatibility database by entering your equipment’s model number. If your system is very old, uses proprietary control circuits, or has two-stage heating, some smart features may be unavailable, though basic heating and cooling should function normally. If your system is incompatible with smart models, consider a programmable (non-smart) thermostat as a more affordable alternative that still offers scheduling and energy savings.
How much time should thermostat replacement take from start to finish?
Wiring and mounting the new thermostat typically takes 30 to 60 minutes, depending on the accessibility of the old unit and the complexity of your wiring. Initial app setup and WiFi configuration add another 15 to 30 minutes. If you need to run a new common wire from the furnace to the thermostat, allow an additional 1 to 2 hours for drilling, routing through walls or conduit, and secure mounting.
Conclusion
Replacing a home thermostat is an achievable DIY project for most homeowners, provided you understand wiring basics and verify compatibility before purchase. The key steps are straightforward: confirm your system type and wire count, photograph the old thermostat’s connections, turn off power, disconnect and reconnect wires to match your new unit’s terminal labels, and test immediately after installation. Smart thermostats offer significant energy savings through scheduling and geolocation features, but they often require a common wire and reliable WiFi connectivity. If your system lacks a C-wire and your new thermostat requires one, running an additional low-voltage wire is the best long-term solution. Choosing a compatible model upfront, taking care with wiring connections, and testing thoroughly after installation will give you a reliable, modern thermostat that serves your home for years.
If your system is unusual, you’re uncomfortable working near the furnace, or your initial test reveals no response from the equipment, call a licensed HVAC technician. Improper wiring can damage your system and void warranties, and professional verification ensures everything works safely and correctly.
Bookmark this guide for future reference, and leave a comment below if you have questions about your specific system or installation experience.