HVAC Airflow Testing at Home: Temperature Split, CFM, and Static Pressure
This post contains affiliate links. As an Amazon Associate, I earn from qualifying purchases at no extra cost to you.
Your air conditioning runs, the house feels cool, and you figure it’s working fine. But is it really working efficiently? Most homeowners never test their actual airflow, which means you might be running an HVAC system that’s undersized, clogged with debris, or losing conditioned air to leaks in the ducts. The result: wasted money on energy bills and a system that wears out faster than it should.
Measuring airflow at home takes three core metrics: temperature split (the difference between supply and return air), CFM (how many cubic feet of air per minute your system moves), and static pressure (resistance in your ductwork). These aren’t abstract numbers - they’re the vital signs of your HVAC system. You don’t need to be an HVAC technician to understand them or measure them yourself.
This guide walks you through each metric, explains what the numbers mean for your system’s health, and shows you how to test airflow with tools you can buy for under $200. You’ll learn what normal looks like, what signals a problem, and when to call a pro instead of guessing.
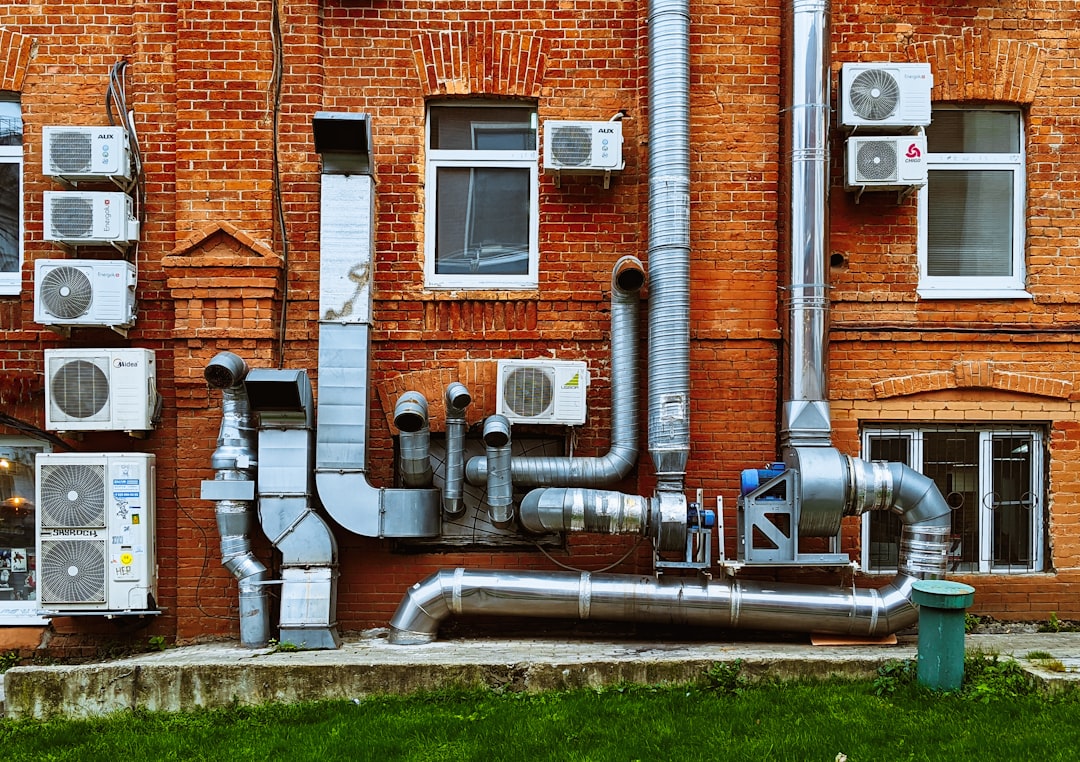
Photo by Vadim Babenko on Unsplash
Understanding Temperature Split in HVAC Airflow Testing
Temperature split is your first diagnostic. It’s the difference between the temperature of air leaving your furnace or AC unit (supply air) and the temperature of air returning to the unit (return air).
Here’s why this matters: a properly functioning cooling system should have a temperature split of 14-20°F in summer. That means if your return air is 75°F, your supply air should be between 55-61°F. This benchmark comes from ASHRAE residential cooling standards, which define performance expectations for climate control. If the gap is smaller - say, 8°F or 10°F - your system isn’t cooling effectively. If it’s too large (25°F or more), you might have low airflow, which stresses the coils and can cause freezing.
Temperature split tells you whether the evaporator coil is doing its job. A weak split often indicates clogged filters, blocked ducts, low refrigerant charge, or a failing compressor. It’s not a complete diagnosis by itself, but it’s the first red flag to watch for.
Measuring it is straightforward: use an infrared thermometer at the supply plenum (where cooled air leaves the unit) and at the return air intake. The difference is your split. Do this while the system has been running for at least 15 minutes so temperatures stabilize.
For heating season, the split should be 40-55°F. A gas furnace producing only a 20°F rise in winter suggests restricted airflow or heat exchanger problems. The U.S. Department of Energy publishes efficiency benchmarks for residential HVAC systems that help homeowners establish baseline expectations for heating and cooling performance.
CFM and Airflow: Measuring Your System’s Capacity
CFM stands for cubic feet per minute. It measures the volume of air your system is moving. Most residential HVAC systems should deliver between 300-500 CFM per ton of cooling capacity. A typical 3-ton system should move 900-1,500 CFM during operation.
Why does this matter? Undersized airflow causes several problems: evaporator coil freeze-up, reduced cooling efficiency, short cycling (the unit turns on and off too often), and higher energy bills. Oversized airflow can mean the air moves through ducts so fast it doesn’t have time to condition, and you’ll feel uncomfortable temperature swings.
CFM varies with system design. A properly sized residential AC system delivers about 400 CFM per ton. If you have a 3-ton unit, expect roughly 1,200 CFM in normal operation. If your testing shows 800 CFM from a 3-ton system, you’ve identified an airflow restriction.
To measure CFM, you have two practical options: use an anemometer (a small fan-like probe that measures air velocity) at the supply vents, or use a duct pressure reading combined with static pressure calculations. The Testo 0560 1410 410I Vane Anemometer Smart and Wireless Probe, 1” Height, 2” Width, 6” Length is a reliable choice for homeowner-level testing.
Measure velocity at several supply vents, calculate the average, and multiply by the total cross-sectional area of all ducts. The math is simple: CFM = average velocity × total duct area. Velocity should be 600-800 feet per minute in supply ducts during cooling mode.
Static Pressure and Ductwork Resistance
Static pressure is the resistance to airflow in your ductwork and system. Think of it as the effort your blower motor must exert to push air through the ducts. Measured in inches of water column (in. wc), static pressure tells you whether your ductwork is too restrictive for your system.
High static pressure means the blower is working hard - often a sign that filters are clogged, ducts are blocked or damaged, or the return air side is undersized. A return air vent that’s too small is a common culprit. Low static pressure suggests good airflow, but if it’s too low, you might have leaks or undersized equipment.
For most residential systems, total external static pressure should not exceed 0.5 inches of water column. Many modern systems are rated for 0.1-0.3 in. wc. If you measure higher, the blower motor is working unnecessarily hard, wearing out faster and wasting energy.
Static pressure is where a manometer becomes essential. The Dwyer® 477AV Handheld Digital Manometer, 477AV-3, 0-200” wc, Air Velocity/Flow Modes lets you take quick readings without guessing. Measure pressure at the supply plenum and return ductwork during operation to determine total resistance.
High static pressure at the filter? Your filter is overdue for a change. High pressure in the return ducts? You likely have a return air restriction, often a closed damper or inadequate return vents.
Essential Tools for HVAC Airflow Testing at Home
You don’t need expensive lab equipment to test airflow. Three tools cover most homeowner-level diagnostics:
Digital Thermometer: The Fluke 62 Max Industrial Infrared Thermometer, -22 to +932 Degree F Range, Single Laser Targeting, 10:1 Distance to Spot Ratio, IP54 Rating, Includes 3 Year Warranty, (Not for Human Temp) gives accurate temperature readings without contact. Point it at supply plenums and return ducts to calculate temperature split. The laser targeting ensures you’re measuring the right spot.
Handheld Manometer: The Dwyer® 477AV Handheld Digital Manometer, 477AV-3, 0-200” wc, Air Velocity/Flow Modes measures static pressure and has a velocity mode for quick airflow estimates.
Anemometer: The Testo 0560 1410 410I Vane Anemometer Smart and Wireless Probe, 1” Height, 2” Width, 6” Length measures air velocity directly at vents. This is the most intuitive tool for verifying that supply vents are actually delivering air.
A basic test kit - all three tools - costs less than $200 and lasts for years. Keep these tools handy during seasonal maintenance checks.
How to Test HVAC Airflow at Home: Step-by-Step
Here’s a systematic approach to testing airflow without needing a contractor:
-
Let the system run for at least 15 minutes before testing. This stabilizes temperatures and gives the blower time to reach steady operation. Set your thermostat to cooling mode (in summer) or heating mode (in winter) and let it run without interruption. This ensures you’re measuring true operating conditions, not startup transients.
-
Measure temperature split. Using the infrared thermometer, measure the temperature at the supply plenum (where cooled air exits the unit) and at the return air intake (where air re-enters the unit). Record both temperatures. Subtract return from supply. In summer cooling, you should see 14-20°F difference. In heating, expect 40-55°F. If the split is weak, airflow restriction or refrigerant issues are likely.
-
Check static pressure with the manometer. Connect the manometer probes to duct taps near the furnace - one to the supply plenum, one to the return plenum. In a typical reading, supply pressure is positive (resistance slowing air down), return pressure is negative (suction pulling air back), and the total is the sum of both. Expect 0.1-0.5 in. wc total. Anything above 0.5 in. wc suggests a dirty filter, blocked return vents, or clogged ducts.
-
Measure velocity at supply vents. Use the anemometer at each supply register. Hold it perpendicular to the vent opening for 10-15 seconds to get a stable reading. Typical velocities run 300-600 feet per minute at the register. Record velocity at 3-5 different vents to see if airflow is balanced throughout the house.
-
Calculate approximate CFM if you want a complete picture. Measure the square footage of your total duct cross-section (usually 12-24 square inches for residential ducts), then multiply average velocity by that area. Example: average velocity 500 FPM × 2 square feet = 1,000 CFM. Compare to your system’s rated capacity (usually on the unit nameplate).
-
Document your findings and watch for patterns. One low vent might indicate a damper problem in that zone. Consistently low readings everywhere suggest overall airflow restriction. High static pressure with normal velocity means resistance but not blockage.
Common Mistakes When Testing HVAC Airflow
Testing airflow seems simple, but details matter. Here are the most common errors homeowners make:
Testing too soon after startup. If you measure temperature split within the first 5-10 minutes of operation, you’ll get false readings. The system hasn’t reached steady state yet. Temperatures are still climbing, and the blower hasn’t settled into normal speed. Always wait 15 minutes minimum, preferably 20, before taking measurements.
Measuring at the wrong locations. Many homeowners point a thermometer at a supply vent in a bedroom, thinking that’s representative. But ductwork and distance from the unit affect temperature. Measure at the supply plenum (right where air leaves the unit) and the return air intake (right where air enters). These are your true system temperatures, not what you feel in the living room.
Ignoring filter condition. High static pressure readings often reflect a dirty filter more than actual ductwork problems. Before troubleshooting ducts, change your filter. Many homeowners measure, see high pressure, panic, and call a contractor, only to find a clogged 3-month-old filter was the culprit. Check the filter first, every time.
Using inaccurate thermometers. Not all infrared thermometers are calibrated equally. Dollar-store thermal guns often have ±5°F error. For airflow testing, that’s huge - it can make a 14°F split look like 9°F. Use a quality thermometer like the Fluke 62 Max. Calibration matters.
Testing with closed interior doors. If bedroom doors are shut during cooling, return air is restricted, which artificially raises static pressure and makes airflow look worse than it is. Test with interior doors open to match real operating conditions. This is especially important if your home has central return air (one return duct) rather than distributed returns.
Misinterpreting velocity readings. A low velocity reading at one vent doesn’t automatically mean low CFM. Some vents are smaller, some have baffles that slow air, and some are designed for different throw distances. Measure several vents. If all are low, you have a system problem. If one vent is consistently low, the issue is local (damper, blockage, or design).
Not accounting for seasonal differences. Winter heating and summer cooling operate at different blower speeds on some systems. A system running at 60% capacity in winter will show lower temperatures and CFM. This is normal. Always compare against seasonal baselines, not year-round targets.
Frequently Asked Questions About HVAC Airflow Testing
Q: What’s a normal temperature split for my AC?
A: In cooling mode (summer), expect 14-20°F between supply and return air. A 75°F return should produce 55-61°F supply air. Higher splits (22°F or more) often indicate low airflow, which can freeze the evaporator coil. Splits below 12°F suggest weak cooling or a refrigerant problem. The exact number depends on humidity and load, but this range works for most residential systems. If you’re consistently outside this range, you’ve likely found a problem worth investigating.
Q: Can I test airflow with just a thermometer, or do I need all three tools?
A: A thermometer alone gives you temperature split, which is valuable but incomplete. If you only have a thermometer, you can identify weak cooling or heating but not whether the problem is airflow, ductwork resistance, or refrigerant charge. The manometer and anemometer cost less than $150 together and tell you whether ducts are clogged and if the blower is moving sufficient air. For a complete picture, all three tools are worth having, especially if you plan to do periodic maintenance checks.
Q: What should I do if my static pressure is too high?
A: Start with the easy fixes: replace your air filter with a fresh one, even if it doesn’t look that dirty. Check that return vents aren’t blocked by furniture or closed doors. Verify that all supply dampers (if you have zone control) are fully open. If pressure is still high after those steps, you may have duct blockage (collapsed duct, debris), a damaged ductwork section, or undersized return ductwork. This is when a duct-specific inspection or professional cleaning might be justified.
Q: Is airflow testing safe for a homeowner, or should I always call a pro?
A: Testing is safe - you’re measuring, not modifying. You don’t need to touch refrigerant, electrical components, or sealed systems. However, if testing reveals problems (low CFM, high static pressure, weak temperature split), diagnosis is more complex. A homeowner can identify the symptom, but fixing it often requires professional help. Know your limits: testing is your job; refrigerant service, electrical repair, or major ductwork modification is a pro’s job. If you discover high static pressure or unusual temperature readings, it’s time to call a licensed HVAC technician for a full system evaluation.
Conclusion: Measure First, Act Second
Testing your HVAC airflow transforms you from a passive observer into an informed homeowner. You’ll know whether your system is undersized, clogged, or working as designed. More importantly, you’ll catch problems early - a weak temperature split in July, before your AC fails in August - and you’ll avoid the guesswork that leads to expensive contractor calls.
Start with temperature split. It’s the quickest test and often the most telling. If your split is outside the normal range, measure static pressure and velocity next. Document your baseline numbers, retest seasonally, and you’ll spot degradation before it becomes costly. Whether you repair the problem yourself or call a pro, you’re now speaking HVAC language. You know what the numbers mean and what questions to ask.
Bookmark this guide and test your airflow before the next heating or cooling season to catch problems early.
Related reading: AC Not Cooling Enough: Causes and Fixes explains how poor airflow contributes to reduced cooling, and Best HVAC Maintenance Tools Every Homeowner Should Own covers the full toolkit for hands-on system care.