Cleaning Your Air Conditioner Condenser Coil: Simple Steps for Better Efficiency
This post contains affiliate links. As an Amazon Associate, I earn from qualifying purchases at no extra cost to you.
A dirty condenser coil is one of the fastest ways to undermine your air conditioning system’s efficiency. Most homeowners don’t realize that the outdoor unit is doing just as much work as your indoor equipment, and it collects dust, pollen, leaves, and debris that gradually choke off airflow. When your condenser coil gets clogged, your compressor runs harder and longer to achieve the same cooling, your electric bills spike, and your system ages faster. The good news is that cleaning it yourself takes less than an hour and costs almost nothing.
This guide will show you exactly how to clean your condenser coil without damaging it, when you need a professional instead, and what tools actually make the job easier.
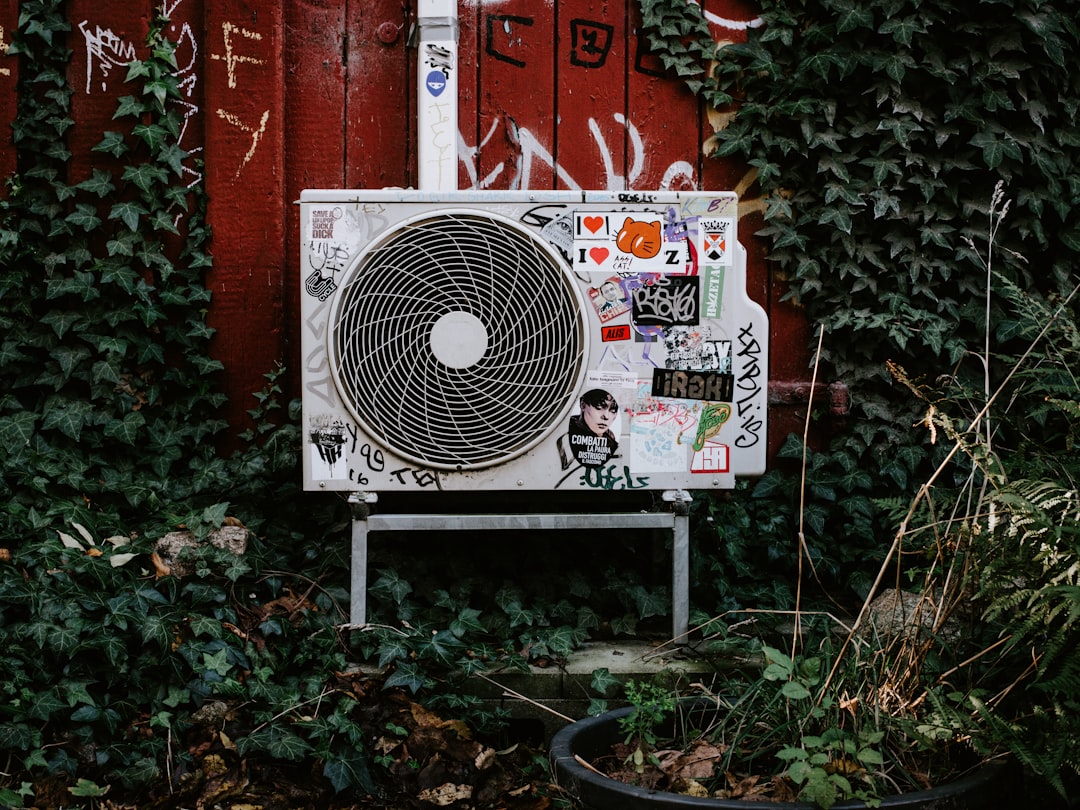
Photo by Annie Spratt on Unsplash
Why Dirty Condenser Coils Reduce Efficiency
Your air conditioner’s condenser coil is mounted in the outdoor unit and is responsible for releasing the heat that your refrigerant absorbed from inside your home. Think of it as the heat-dumping station. When that coil is clean, refrigerant flows freely through its fins and transfers heat efficiently to the outside air. When it’s clogged with debris, air cannot flow through, and your system has to work much harder to maintain the same temperature.
According to the U.S. Department of Energy and HVAC industry data, a dirty condenser coil can reduce your system’s cooling capacity by 5 to 15 percent, with some cases showing efficiency losses as high as 30 percent. That translates directly to higher electricity costs during summer months. If your unit is running constantly but your home isn’t cooling evenly, or your utility bills have climbed for no obvious reason, a filthy condenser is very often the culprit.
The dirtier the coil gets, the more stress you place on the compressor, which is the most expensive component to replace. Regular cleaning extends the life of your system and keeps it performing at rated capacity. Most manufacturers recommend cleaning condenser coils at least twice per year in dusty climates, or at minimum once per year in moderate conditions.
How Your Condenser Coil Works
The condenser coil inside your outdoor unit is a series of aluminum or copper tubes wrapped in thin fins. The fins are what do most of the work. They dramatically increase the surface area available for heat transfer, allowing your refrigerant to dump heat into the surrounding air efficiently. The thinner and more densely packed the fins, the more surface area you have.
Refrigerant flows through the tubes at high pressure and high temperature after leaving the compressor. As it moves through the coil, outside air (drawn in by the condenser fan) passes over the fins, cooling the refrigerant and turning it into a liquid. This liquid refrigerant then travels back inside your home to continue the cooling cycle.
When dust and debris accumulate on those fins, they create an insulating blanket that blocks airflow. The refrigerant doesn’t cool as much, doesn’t fully condense, and returns to the indoor coil too warm. That forces your compressor to work longer and at higher pressures than it should. Over time, this raises wear on internal components and shortens equipment life significantly.
Debris accumulates fastest in spring and summer when your unit runs constantly. Lint from dryer vents nearby, grass clippings from yard work, leaves blown by wind, and airborne dust all settle on the coil. If your outdoor unit sits near landscaping, a gravel drive, or any area with heavy foot traffic, you can expect faster buildup.
Safety Considerations Before You Start
Before you touch your outdoor unit, you must turn off power to the air conditioning system. Locate your outdoor AC disconnect switch, which should be mounted on or near the outdoor unit itself. Switch it to the off position. If you cannot find a disconnect, turn off the circuit breaker for the outdoor unit at your home’s electrical panel. Do not skip this step.
Do not attempt this work during extreme heat. Cleaning your condenser takes focus and patience, and working in direct summer heat over 95 degrees Fahrenheit can be dangerous. Plan your cleaning for early morning or late afternoon when temperatures are cooler.
If your system uses refrigerants, do not attempt to open any refrigerant lines or connections yourself. Releasing refrigerant is illegal without proper certification, and the chemicals are hazardous. This guide covers external cleaning only.
Maintain and test carbon monoxide detectors in your home regularly. While condenser coil cleaning itself doesn’t involve gas equipment, keeping your HVAC system in peak condition protects your household. If you have a gas furnace or boiler connected to your AC system, proper maintenance of both components is essential for safety.
If at any point you feel uncomfortable working on electrical equipment, if you spot refrigerant leaks (visible oil residue near connections), or if the condenser unit appears severely damaged, stop and call a professional. It is always better to spend money on a service call than to risk damaging an expensive compressor.
Tools and Materials for the Job
Cleaning your condenser coil doesn’t require expensive equipment. Here’s what you actually need.
Cleaning solution: You have two solid options. The Nu-Calgon 4171-75 Evap Foam No Rinse Evaporator Coil Cleaner is formulated specifically for HVAC coils and requires no rinsing, making it beginner-friendly. Alternatively, the Leak Saver Foam Blaster AC Coil Cleaner features a deep-penetrating formula that works on both evaporator and condenser coils. Either product applies as a foam spray. Avoid homemade solutions or all-purpose degreasers, which can damage coil fins and coatings.
Fin comb: The Ritchie Engineering YELLOW JACKET FINFIX Fin Comb is a tool that straightens bent coil fins during or after cleaning. Bent fins block airflow just like dirt does, so having this tool on hand prevents you from wasting effort.
Basic supplies: A soft brush or old toothbrush for scrubbing. A spray bottle with water for rinsing (only if using a rinse-required cleaner). Rubber gloves to protect your hands from cleaning chemicals. A shop vacuum or regular vacuum with a hose attachment to catch runoff. An old towel or drop cloth to contain spray.
Optional but helpful: A garden hose or spray nozzle for rinsing large areas. A stepladder if your outdoor unit is mounted high. Safety glasses to protect your eyes from spray and debris.
You do not need a pressure washer, though some homeowners use one. High-pressure water can damage fins, so if you go that route, keep pressure under 300 PSI and maintain distance of at least 12 inches from the coil.
Step-by-Step Guide to Cleaning Your Condenser Coil
Follow this process to clean your condenser safely and effectively.
-
Cut power to the unit. Locate and flip the disconnect switch on or near your outdoor unit, or turn off the breaker for the AC circuit at your home’s electrical panel. Wait 5 minutes to allow any residual electrical charge to dissipate. Verify power is off by trying to turn on your thermostat (the outdoor fan should not run).
-
Clear the area around your outdoor unit. Remove leaves, branches, and debris from a 2-foot radius around the unit. If your AC sits against a wall or fence, you need clearance to spray cleaner and rinse without water or spray damaging your home’s siding. Move any potted plants or objects that could be damaged by cleaning runoff.
-
Open the condenser cabinet if needed. Some outdoor units have a cover or grille protecting the coil. Check your manual or look for bolts or clips securing the cover. Remove them if necessary to access the coil fins directly. Many units do not have a protective cover, so you may be able to spray directly.
-
Apply coil cleaner per product instructions. Shake the cleaner bottle thoroughly. Start at the top of the coil and apply the foam spray evenly, moving side to side as you work downward. The foam should cling to the fins. If your cleaner requires 10–15 minutes to work (check the label), wait patiently without rinsing. If it’s a no-rinse formula, you can proceed to rinsing immediately.
-
Rinse the coil with water. Using a gentle spray from a garden hose or spray bottle, rinse away all foam and loosened debris. Start at the top and work downward. Rinse until the runoff runs clear. Do not use a pressure washer or high-velocity spray, as you risk bending fins. If water cannot easily flow through the coil, the blockage is severe and you may want to call a professional.
-
Inspect for bent fins and address them. As the coil dries, look closely for fins that are folded or compressed. These reduce airflow just like dirt does. Use your fin comb to gently straighten them (covered in detail in the next section).
-
Allow the coil to dry completely. Let your condenser air-dry for at least 1 hour before restoring power. This prevents electrical hazards and allows coil coatings to set properly.
-
Restore power and run a test. Switch the disconnect back on or reset the breaker. Set your thermostat to cooling mode and listen for the outdoor unit fan to start within a few minutes. After 10 minutes, check that your home is cooling normally and feel the temperature of the refrigerant lines (they should be cool to the touch). If your system cycles on and off rapidly or your home doesn’t cool, contact a professional.
Using a Fin Comb for Better Performance
Bent condenser fins are an often-overlooked efficiency killer. Even one row of flattened fins blocks airflow and reduces capacity. If your coil has been sitting unserviced for years, many fins are likely bent or compressed. Straightening them is quick and inexpensive.
A fin comb is a tool with a series of teeth spaced to match your coil’s fin width. By combing the fins gently, you straighten them back to their original position. You can use the Ritchie Engineering YELLOW JACKET FINFIX Fin Comb, which is designed specifically for this purpose.
To use a fin comb: First, determine your fin pitch (the spacing between fins). Most condenser coils have 10, 12, 14, or 15 fins per inch. Check your system’s nameplate or manual, or count the fins visually if needed. Get the correct comb size.
Position the comb’s teeth against the fins and gently drag it along the length of the coil. Work from top to bottom. Move slowly and use light pressure. Your goal is to align the fins, not to force them. If a fin is severely dented or creased, stop and do not force it. Excessive pressure can break fins or rupture refrigerant tubes, which requires a professional repair.
After fin combing, the coil’s surface area is restored, airflow improves, and your system cools more efficiently. This step takes only 15 minutes and pays dividends in system performance. Many homeowners skip it and miss out on easy efficiency gains.
Common Mistakes When Cleaning Condenser Coils
Even straightforward tasks go wrong when you take shortcuts. Here are the mistakes we see most often.
Using a pressure washer or excessive water spray is the fastest way to bend fins and damage your coil. Fins are thin aluminum and dent easily. A compressed-air nozzle at high PSI can also deform them. Stick to low-pressure spray, a gentle hose nozzle, or even a spray bottle. Your coil will thank you.
Forgetting to turn off power. This one is dangerous. If you touch any electrical component while power is on, you risk electrocution. The disconnect switch is there for a reason. Always flip it and wait at least 5 minutes.
Skipping fin straightening. Cleaning the fins of dirt is only half the job. If you do not straighten bent fins, your coil is still restricting airflow. Spend the 15 minutes with a fin comb and restore full performance.
Using the wrong cleaning product. Harsh degreasers, bleach, or vinegar can strip protective coatings from aluminum fins and corrode copper tubes. Coil-specific cleaners like foam cleansers are formulated to be safe for coil materials. Stick with products designed for HVAC use.
Cleaning in extreme heat. Working outdoors when it is 95+ degrees is uncomfortable and risky. You lose focus, move slowly, and risk dehydration or heat exhaustion. Schedule cleaning for early morning or late afternoon in mild weather.
Ignoring severe blockage. If rinsing does not push water through the coil, or if you see visible ice formation on the coil during winter operation, the blockage may be internal, and you need professional help. Trying to force the issue can damage your system. A tech can use specialized equipment or refrigerant flushing to clear deep blockages safely.
Failing to check for refrigerant leaks before starting. If you see oily residue or colored staining around any connection, your system is leaking refrigerant. Cleaning will not fix a leak, and operating a system with low refrigerant damages the compressor. Call a professional before proceeding.
Frequently Asked Questions
How often should I clean my condenser coil?
In most climates, clean your condenser coil once per year, ideally in spring before heavy cooling season. If you live in a dusty area, near unpaved roads, or where trees shed seeds or pollen heavily, clean it twice yearly (spring and mid-summer). If you notice your system is cycling on and off frequently or cooling less effectively, an early cleaning may help. Some systems in exceptionally clean, low-allergen environments can go longer, but annual maintenance is the standard guideline from most HVAC manufacturers and aligns with EPA recommendations for system efficiency.
Can I clean my condenser coil if my system is older than 10 years?
Yes, and you probably should. Older systems collect more debris and benefit significantly from cleaning. However, be extra gentle when rinsing, as older coils may have compromised sealants or protective coatings. If you notice refrigerant oil around connections or any visible corrosion, call a professional rather than risk aggravating an existing problem. Cleaning an older system maintains efficiency and extends its remaining lifespan.
What if cleaning my condenser doesn’t improve cooling?
Dirty condenser coils are a common cause of weak cooling, but not the only one. If your system still underperforms after cleaning, the issue may be low refrigerant charge, a blocked return air filter, a faulty blower motor, or an indoor evaporator coil blockage. See our guide on cooling problems and what causes them for other troubleshooting steps. If those checks do not help, contact a professional to diagnose the root cause.
Is it safe to clean my coil myself, or should I always call a technician?
Cleaning the exterior of your condenser coil is a low-risk DIY task if you follow the steps in this guide. You do not need certification or special training. However, if you discover refrigerant leaks, damaged components, or if your system has accessibility issues (mounted on a roof, for example), hire a professional. A service call costs far less than replacing a compressor damaged by deferred maintenance.
A clean condenser coil is one of the simplest and most impactful maintenance tasks you can perform yourself. For under $50 in supplies and an hour of your time, you restore your system’s efficiency, lower your electric bills, and extend the life of expensive equipment. The fact that most homeowners never do this means your AC will outperform your neighbors’, even if you have the same model.
Start with your disconnect switch, choose a cool morning or evening, apply your coil cleaner, rinse gently, straighten any bent fins with a comb, and restore power. Follow these steps and your system will run cooler, quieter, and cheaper all summer long.
If you encounter refrigerant leaks, damaged fins beyond straightening, electrical concerns, or severe blockage, do not hesitate to call a professional. That is exactly what they are trained for, and it is always the right call when you are uncertain.
Bookmark this guide and check your condenser coil twice per year. Better yet, set a reminder on your phone for spring and mid-summer to make coil cleaning part of your regular routine.
Dirty condenser coils are one of the top reasons air conditioning systems lose efficiency. To learn what other issues might reduce your cooling power, read AC Not Cooling Enough: Causes and Fixes. If you want to maximize your system’s lifespan and keep it running smoothly, explore How to Extend the Life of Your HVAC System.