HVAC thermostat placement why your location matters for comfort and accuracy
This post contains affiliate links. As an Amazon Associate, I earn from qualifying purchases at no extra cost to you.
Why Thermostat Placement Matters More Than You Think
A thermostat that sits in the wrong spot will tell your HVAC system lies. It might report that your home is 72 degrees when the bedroom is actually 68, or it could be measuring heat radiating from afternoon sun instead of your actual indoor temperature. The result is wasted energy, uneven comfort, and a system running harder than it needs to. Your thermostat is essentially the brain of your heating and cooling system, and if it’s positioned poorly, your entire home pays the price.
Most homeowners inherit thermostat placement from whoever installed their system years ago and never think about it again. But placement is a decision that affects your comfort every single day and your energy bills every month. The good news is that understanding the rules of proper placement is straightforward, and fixing a bad location doesn’t always require a full system overhaul. This guide explains why location matters, shows you where your thermostat should actually go, and walks you through the most common placement mistakes and how to address them.
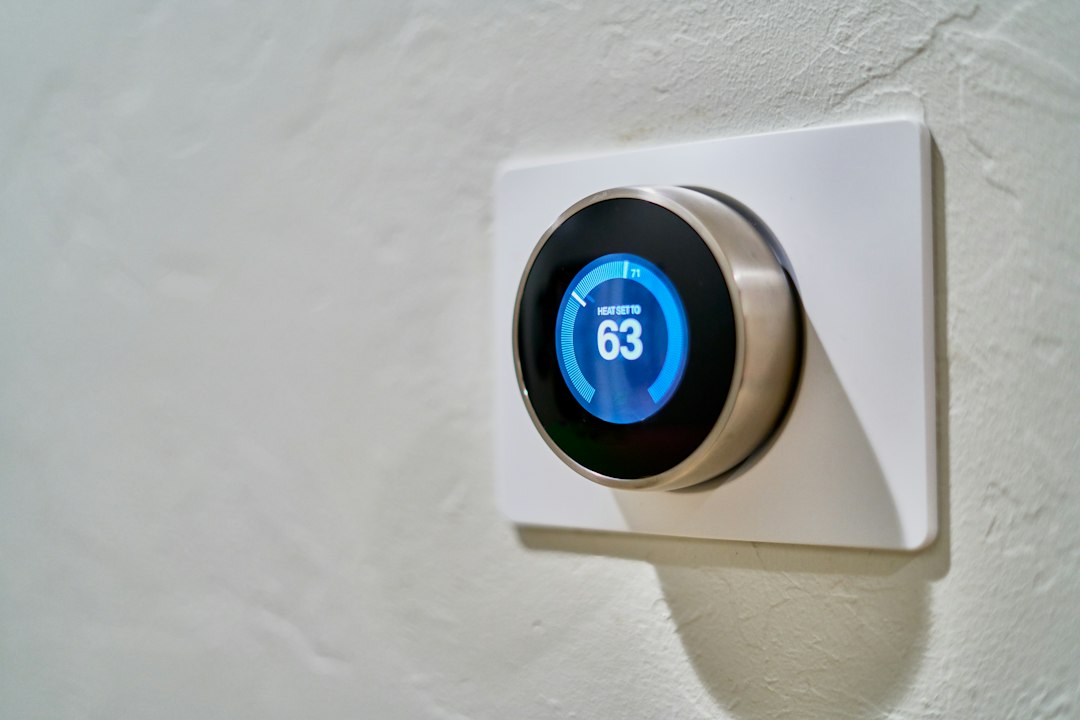
Photo by Dan LeFebvre on Unsplash
How Thermostat Placement Affects Your HVAC System’s Performance
Your thermostat works by measuring the temperature of the air around it and comparing that reading to your setpoint. When the thermostat detects that your home is too cold, it signals the furnace or heat pump to turn on. When it senses the space is warm enough, it sends a signal to shut down. The system cycles on and off based entirely on what the thermostat reads in that one spot.
Here’s the critical problem: your home does not have uniform temperature. The living room might be 72 degrees while the hallway is 70 and the master bedroom is 74. If your thermostat happens to sit in a spot that’s consistently warmer or cooler than most of your home, your system will chase that temperature instead of your actual comfort zone. A thermostat in a sunny room will read high on a winter morning, causing the heating to shut down too early. One positioned near an exterior door will read low on a cold day, triggering unnecessary heating cycles.
According to guidance from the U.S. Department of Energy, thermostat placement directly impacts HVAC efficiency and comfort. A poorly positioned thermostat can cause your system to cycle more frequently, which increases energy consumption and wears components faster. Poor placement also leads to complaints about certain rooms being too hot or cold, which tempts homeowners to adjust the setpoint up and down instead of addressing the real problem. This behavior wastes energy and creates swings in comfort rather than stable conditions.
Smart thermostats amplify the importance of proper placement because they rely on accurate temperature readings to make automated scheduling decisions. A smart thermostat in the wrong location will learn the wrong patterns and make poor automation choices, even if the technology itself is sophisticated.
Where to Place Your Thermostat: The Ideal Location
The best spot for your thermostat is in a central area of your home that represents the average temperature of the entire space. It should be on an interior wall (not exterior), away from direct sunlight, away from heating and cooling sources, and in a location where air naturally circulates. Here is a practical step-by-step process for finding and evaluating the right location:
-
Choose an interior wall in a central area of your home. Avoid exterior walls because they conduct outside temperatures and temperature swings directly into the thermostat reading. The ideal location is an interior hallway, central living area, or den that connects multiple zones of your home. If you live in a two-story home, consider placing the thermostat on the first floor in a central location that influences the main living spaces, or discuss a second thermostat with zoning in mind if upstairs comfort is a persistent problem.
-
Position it away from direct sunlight and heat sources. Never mount a thermostat on a wall that receives afternoon sun or is above a heating vent, radiator, or fireplace. Sunlight entering through windows can elevate the temperature around the thermostat by 10 degrees or more on a clear day, making your HVAC system shut off early. Heat sources create artificial temperature spikes that don’t reflect true home comfort.
-
Avoid doorways and exterior windows. Thermostats placed near entry doors experience drafts and temperature fluctuations that don’t represent your home’s stable interior temperature. Similarly, mounting one near a window (even on an interior wall) exposes it to radiative heat in summer and cold in winter. Move it at least 3 to 4 feet away from any door or window opening.
-
Ensure adequate air circulation around the unit. Your thermostat needs access to the general air supply of your home to read representative temperatures. If it’s mounted in a dead corner, behind furniture, or in a closed-off room, it won’t sample the full range of conditions in your home. Keep the area around it clear so air can flow freely across the sensor.
-
Mount it at eye level, roughly 52 to 60 inches from the floor. This height puts the thermostat in the typical occupied zone where you and your family actually spend time, and it avoids temperature stratification that occurs at floor level (cold air sinks) or ceiling level (warm air rises). This positioning also makes it convenient to read and adjust.
Common Thermostat Placement Mistakes to Avoid
Understanding what not to do is just as important as knowing what to do. Here are the placement errors that create the most comfort and efficiency problems:
Placing the thermostat in or near the kitchen is a classic mistake because kitchens generate heat from appliances, cooking, and sunlight through windows. A thermostat here will read artificially high during meal prep, signaling your HVAC system to cool or stop heating even though the rest of your home is at the desired temperature. This creates comfort complaints and energy waste.
Mounting on an exterior wall exposes the thermostat to outside temperature influences. In winter, an exterior wall conducts cold inward, and in summer, it absorbs and radiates solar heat. Your thermostat becomes a sensor of the outdoor climate rather than your indoor conditions, leading to constant over-correction by the HVAC system.
Positioning it directly above a heating vent or return air grille means the thermostat reads the temperature of conditioned air leaving your system, not the actual temperature of your home. This creates a feedback loop where the system rapidly cycles on and off, wasting energy and causing temperature swings.
Placing the thermostat in a poorly insulated closet or storage space isolates it from the general air circulation of your home. It becomes a sensor of only that small pocket of air, not your home’s true conditions. A closet may also experience temperature swings based on whether the door is open or closed.
Hiding the thermostat behind furniture, curtains, or in a painted-over nook restricts air circulation and often reflects the homeowner’s desire to keep it out of sight rather than placing it functionally. While aesthetics matter, a thermostat that can’t access representative air samples will create comfort and efficiency problems that far outweigh the benefit of hiding it.
Installing it in a room that’s frequently closed off such as a guest bedroom or formal dining room that stays empty most of the time means your thermostat is monitoring an unused space. This is particularly problematic in smart thermostat scenarios where the system learns to condition a room no one occupies.
If you identify any of these mistakes in your current setup and need to relocate your thermostat, consult a licensed HVAC technician. Relocating involves running wiring through walls, adjusting the gas line if necessary, and ensuring proper electrical connections. This is not a DIY project. A professional can also assess whether your current placement problem is better solved by relocation, a remote sensor, or a zoning system.
Smart Thermostats and Sensor Placement for Better Accuracy
If you’re using a smart thermostat, placement becomes even more critical because these devices make automated decisions based on temperature readings. The ecobee Smart Thermostat Premium and the Google Nest Learning Thermostat (4th gen) both offer remote sensor compatibility, which opens up new possibilities for handling placement issues.
With a remote sensor, you can keep your main thermostat in a central location while placing an additional temperature sensor in a room that tends to be uncomfortable. The thermostat then averages the reading from both locations, creating a more balanced control strategy. This approach solves the problem of hot and cold zones without requiring expensive zoning equipment. A bedroom that’s always cold, for instance, can have a remote sensor that pulls the average temperature down, triggering heating more often until that zone reaches the setpoint.
The Google Nest Learning Thermostat includes a temperature sensor to help extend coverage to additional rooms, which is particularly useful if your family uses different areas at different times of day. This flexibility makes proper thermostat placement less critical because the system can learn from your patterns and adjust accordingly.
For homes without a smart thermostat, a supplementary device like the Govee Indoor Hygrometer Thermometer H5075 can help you understand temperature variations across your home. Use it to measure conditions in different rooms and identify patterns. If one area is consistently warmer or cooler than others, that’s a signal that your main thermostat placement may not be representative of your full home.
Solutions for Suboptimal Placement
If your thermostat is in a suboptimal location but relocation isn’t practical or affordable right now, several strategies can improve your system’s performance and comfort.
Install a remote sensor if you have a smart thermostat. If you own or upgrade to a smart system like the Google Nest Learning Thermostat or ecobee Smart Thermostat Premium, adding a remote sensor in a problem room can help the thermostat account for temperature variations and improve comfort. This can address zone comfort issues without rewiring your home.
Use a zoning system to create independent comfort control. If you have multiple thermostats or dampers that control airflow to different areas, you can adjust dampers to send more air to cooler zones and less to warmer ones. A damper adjustment is a $300 to $800 retrofit, much cheaper than relocating a thermostat. Learn more about this approach in our guide to Zone Control Systems Worth It.
Adjust your thermostat schedule and setpoints strategically. If your main thermostat tends to read high because of its location, you might compensate by setting a lower heating setpoint in winter or accepting that peak comfort hours won’t align perfectly with unoccupied hours. This is a compromise, not a solution, but it works when relocation is impossible.
Create barriers to solar heat and drafts. Use window coverings to block direct sun from reaching a thermostat on a sunny wall, or install weatherstripping around doors to reduce draft impact if the thermostat is near an entryway. These low-cost fixes reduce the magnitude of the placement problem without relocating the device.
Improve whole-home airflow and distribution. Sometimes what feels like a thermostat placement problem is actually a ductwork or airflow problem. Cold spots and hot spots are often caused by blocked vents, kinked flex ducts, or dampers shut to certain rooms. Read our guide on How To Check And Improve Airflow To Every Room In Your House for practical steps to diagnose and address airflow distribution issues.
Troubleshooting Uneven Temperatures and Thermostat Placement
When your home has persistent hot and cold spots even though your thermostat seems correctly positioned, start by verifying that placement isn’t the hidden culprit.
Use an inexpensive thermometer to check the actual temperature in different rooms at the same time. Compare those readings to what your thermostat is reporting. If your thermostat reads 72 degrees but your bedroom is actually 68, your thermostat location is not representative of your bedroom’s conditions. This is expected in any home, but a difference larger than 3 to 4 degrees suggests a placement or distribution problem.
Check whether the uncomfortable room is consistently the same temperature or whether it varies with time of day. A bedroom that’s cold in the morning but warm by afternoon might have poor insulation or windows that are frost-covered at night. A living room that’s warm only when the sun is shining directly on it has a solar heat gain issue, not necessarily a thermostat problem. Understanding the pattern helps distinguish between placement and other root causes.
Inspect the return air vents and supply vents in problem rooms. A blocked or closed vent means conditioned air never reaches that space, and no amount of thermostat adjustment will fix it. Make sure vents are clear of furniture, dust, and debris, and that dampers are not closed.
If one room is perpetually cold and others are comfortable, consider whether that room has unique characteristics such as exterior walls, poor insulation, single-pane windows, or limited ductwork. A thermostat in the center of your home may be reading correctly, but one zone of your home simply can’t reach the setpoint without more air distribution. This is a zoning or ductwork issue, not a thermostat placement mistake.
If your thermostat constantly calls for heating or cooling when you expect the system to be in equilibrium, and the temperature in your main living space is actually comfortable, your thermostat may be reading an unrepresentative temperature due to placement. Check for sunlight, drafts, or proximity to vents around the thermostat. A simple barrier or small fan to improve air circulation around the sensor can resolve persistent short-cycling.
When problems persist after inspecting placement, vents, and distribution, or if you notice frequent short-cycling of your furnace or air conditioner, it’s time to call an HVAC professional. They can test the system under load, check for refrigerant levels (in AC systems), inspect ductwork for leaks, and verify that your thermostat is calibrated correctly. They can also ensure that your carbon monoxide detector is functioning and properly placed, which is critical for furnace safety.
Frequently Asked Questions
Should I use a smart thermostat with remote sensors if my current location is bad?
Yes, if you can’t relocate your thermostat, upgrading to a smart system with remote sensor capability is a cost-effective solution. The Google Nest Learning Thermostat and ecobee Smart Thermostat Premium both support remote sensors and can help you address comfort variations across rooms. A remote sensor is typically far less expensive than hiring a technician to relocate your existing thermostat. You also gain the additional benefits of a smart thermostat, including remote access and automated scheduling.
How far can a remote temperature sensor be from the main thermostat?
Wireless remote sensors have a finite range, and obstacles like thick walls and metal studs can reduce it. The ecobee Smart Thermostat Premium and Google Nest Learning Thermostat both use wireless sensors designed to work in typical home environments. Before purchasing, verify the range specifications for your specific model. In most homes, range is not a limiting factor; placement strategy is what matters.
Can I use any temperature sensor with my thermostat, or does it have to be the brand’s official sensor?
Most modern smart thermostats require their own brand-specific remote sensors to ensure reliable wireless communication and full system integration. Third-party sensors like the Govee Indoor Hygrometer Thermometer H5075 can help you monitor conditions in specific rooms, but they won’t directly control your HVAC system. Use third-party sensors for diagnostic purposes to understand temperature patterns in your home, then invest in an official remote sensor if you want to integrate that room into your thermostat’s control strategy.
What’s the ideal temperature difference between rooms in my home?
A difference of 2 to 3 degrees Fahrenheit between rooms is normal and acceptable. Rooms on the north side of a house are typically cooler, and those on the south side (especially with afternoon sun exposure) tend to be warmer. If a room is more than 4 degrees away from your setpoint consistently, that’s a sign of poor air distribution, insulation problems, or thermostat placement issues that should be addressed.
Make Placement Work for Your Comfort
Your thermostat’s location is a decision that affects your comfort and your energy bills every single day. The right placement is on an interior wall in a central area of your home, away from direct sunlight, drafts, and HVAC sources. If you inherited a poor placement from a previous installation or if your thermostat is in a spot that creates comfort problems, you have options: relocate it (with professional help), add a remote sensor if you upgrade to a smart system, or use zoning and airflow improvements to work around the limitation. Start by measuring actual temperatures in your home’s different zones to confirm whether placement is truly the problem or whether something else is causing your comfort issues. Once you’ve identified the root cause, you can make an informed decision about whether to invest in relocation, sensors, or distribution fixes.
For additional guidance on efficient heating and cooling practices, consult ASHRAE (American Society of Heating, Refrigerating and Air-Conditioning Engineers) standards and resources.
Keep up with HVAC best practices and comfort solutions. Subscribe to our RSS feed or bookmark this guide for future reference.