Refrigerant leaks how to spot them and know when to call a professional
This post contains affiliate links. As an Amazon Associate, I earn from qualifying purchases at no extra cost to you.
Your air conditioning system is losing refrigerant, and you might not know it yet. A slow leak can quietly destroy your cooling performance and drain your wallet through skyrocketing energy bills long before you notice your home isn’t staying cold. The problem is that refrigerant leaks aren’t always obvious - they happen inside sealed copper lines, hidden coils, and connections you can’t see. By the time many homeowners realize something is wrong, they’re facing a $1,000+ repair bill or worse.
The good news: you don’t need to be a licensed technician to understand the warning signs of a refrigerant leak. You can learn what to look for, which detection tools actually work for homeowners, and most importantly, when a leak has crossed the line from “maybe I can check this” to “I need a professional now.” This guide walks you through the practical steps to spot leaks early and make confident decisions about whether you can handle it yourself or need to call in the experts.
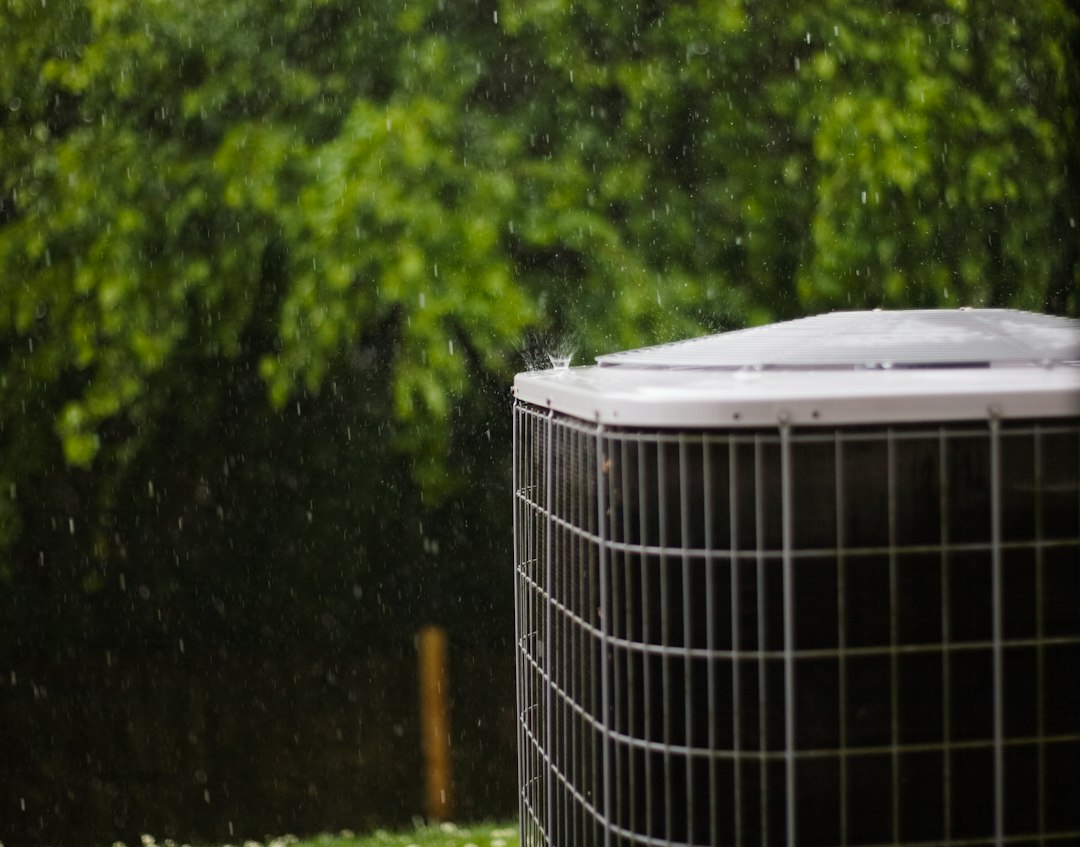
Photo by Sam Jotham Sutharson on Unsplash
How Refrigerant Works and Why Refrigerant Leaks Matter
Refrigerant is the lifeblood of your air conditioning system. It circulates through a closed loop - pulled from the indoor evaporator coil where it absorbs heat from inside your home, compressed by the outdoor unit, and then released into the condenser coil where it dumps that heat outside. This constant circulation is what makes cooling possible. The system is designed to hold the same refrigerant charge indefinitely; if it’s full, the cycle should work until the day your unit dies or develops a leak.
When refrigerant leaks, the system can no longer complete its cycle efficiently. Even a small leak reduces cooling capacity. Your air conditioner runs longer trying to reach your thermostat’s setpoint, your compressor works harder, and your electricity use climbs. Manufacturers specify an exact refrigerant charge in pounds or ounces - you can find this on your system’s nameplate. If the actual charge drops below spec, cooling performance drops with it. A system that’s 25% low on refrigerant won’t cool to 75% of its design capacity; it will barely cool at all.
The second problem is that leaks are progressive. A pinhole leak that lets out a pound of refrigerant per month will eventually empty your entire system. Your compressor can run dry without refrigerant, which damages the compressor itself - a $500–$2,000 repair depending on system size. Catch a leak early and you pay for the repair and a refrigerant recharge. Miss it for a season and you may need a new compressor.
Spot the Signs: Common Symptoms of a Refrigerant Leak
The warning signs of a refrigerant leak are consistent and predictable. Learn to recognize them so you can act before serious damage occurs.
Indoor signs: Your air conditioning unit runs constantly but your home doesn’t cool down. The air coming from the vents feels cool but weak - not the forceful cold stream you remember. You notice ice or frost building up on the refrigerant line, the copper tube entering your home from the outdoor unit. This happens because as refrigerant levels drop, pressure inside the evaporator coil falls, and the coil temperature drops below freezing. If this icing gets severe, it actually blocks airflow and makes cooling even worse.
A hissing or gurgling sound coming from the refrigerant lines, especially near the indoor unit or where the lines penetrate the wall, suggests a leak. You smell something sweet or chemical-like coming from air vents - this is rare but real. Some EPA-approved modern refrigerants have an odorant added to help technicians find leaks.
Outdoor signs: Look at your condenser unit. You might see oil residue on the fins or around the base. Refrigerant and compressor oil travel together through the system. As refrigerant leaks out, oil follows it. A visible oil stain near connection points indicates a leak is happening. You notice the outdoor fan seems to run almost constantly. The condenser unit is abnormally hot to the touch (be careful - it can be 130°F or hotter). Your electric meter runs faster than usual, which you notice in your power bill.
Leak Detection Methods: DIY and Professional Tools
Before calling a technician, you can perform basic detection yourself. These methods are safe and require no EPA certification.
Visual Inspection - A Step-by-Step Approach
-
Turn off your AC system and wait 15 minutes for any pressurized lines to equalize. Go to your indoor unit and examine both copper refrigerant lines where they exit your home. Look for ice buildup, discoloration, corrosion (green or blue residue), or oil stains. Write down any suspicious spots and their locations.
-
Walk to your outdoor condenser unit. Check all visible refrigerant fittings and solder joints for the same signs: oil stains, green corrosion, or visible damage. Wipe away any dirt with a cloth and inspect again. Even a tiny oil spot suggests refrigerant is leaking from that area.
-
Scan the entire length of the copper lines running between your indoor and outdoor units. Look for kinks, pinhole damage, or places where the insulation is damaged or missing. Damage to the line’s outer insulation doesn’t always mean the line has a leak, but it’s a red flag.
-
If you find spots of concern, take photos with your phone. When you call a technician, these photos will help them prioritize and may reduce your diagnostic fee. If you found no visible damage or oil, move to the next detection method.
Soap Bubble Test
Mix a solution of one part dish soap to two parts water in a spray bottle. On a calm day, spray the solution on all visible refrigerant line connections, fittings, and around the base of both indoor and outdoor units. If there’s a leak, escaping refrigerant will form bubbles in the soap film. Bubbles appearing in the same spot over 30 seconds indicate an active leak. This method only works if pressure in the system is high enough - it won’t catch very slow leaks or leaks in parts of the system under low pressure.
UV Dye Inspection
The Yellow Jacket 69700 6-pack Universal A/C Dye for UV Leak Detection is designed for homeowner use. This universal A/C dye mixes with refrigerant inside your system. If there’s a leak, dye escapes with the refrigerant. After allowing the system to run normally for a few days, you use an ultraviolet flashlight to scan the refrigerant lines. The dye fluoresces under UV light, marking the exact leak location. This method requires opening the system slightly to add dye, which some homeowners aren’t comfortable doing. If you’re not experienced with HVAC systems, skip this and use a halogen detector instead.
When DIY methods don’t pinpoint the leak, or when you want confidence before paying for a repair, professional-grade tools are worth renting or purchasing.
Halogen Leak Detectors
The Elitech Freon Leak Detector Halogen Refrigerant Gas Leak Detector HVAC Tester AC Sniffer R22 R410A R134A 1234YF, WJL-6000S is a halogen-type refrigerant sniffer. Halogen detectors work by drawing a small sample of air into the device. If refrigerant is present, the detector reacts and sounds an alarm or displays a visual indicator.
The advantage is that halogen detectors are non-invasive - you just wave the probe around lines, connections, and joints without opening anything. The disadvantage is they require patience and a systematic approach. Scan slowly around each joint and listen for the alarm. Mark any spots that trigger a reaction. Use the device outdoors because refrigerant vapors in an enclosed space can accumulate.
Manifold Gauge Sets
The Mastercool 89661-PRO R134a 2-Way Manifold Gauge Set connects to your system’s service ports to measure refrigerant pressures. High-side pressure and low-side pressure tell you whether the system is undercharged. Normal pressures vary by outdoor temperature and system design, but a pressure that’s significantly lower than spec indicates low refrigerant charge. Lower charge usually means a leak exists. Gauge sets require connecting to the system and interpreting pressure readings, which is more advanced than most homeowners want to tackle.
Safety Considerations When Dealing with Refrigerant
Warning: Refrigerant is a pressurized fluid and must be treated with respect. Never attempt to capture, vent, or remove refrigerant yourself. According to EPA Section 608 certification requirements, venting refrigerant to the atmosphere is illegal in the United States and carries fines. Refrigerant is not toxic to breathe in small amounts, but inhaling concentrated vapor can cause cardiac sensitization, dizziness, and frostbite if the liquid contacts skin. Never expose your eyes or skin directly to refrigerant vapor or liquid.
Modern refrigerants are also potent greenhouse gases - their environmental impact is one reason the EPA has strict handling rules. Proper recovery and recycling of refrigerant is a licensed technician’s responsibility.
If your air conditioner uses refrigerant and you suspect a leak, professional service is not optional because:
- Pressure work is dangerous. Your refrigerant lines are pressurized. A rupture or improper disconnect can spray refrigerant at high velocity.
- Recovery requires certification. Only EPA-certified technicians can legally recover refrigerant from your system.
- Finding slow leaks often requires opening the system. Adding dye, recovering refrigerant, and pressure testing require training and tools.
When to call immediately: If you see refrigerant actively leaking (a wet hissing sound, visible mist, or rapid ice formation), shut off your system and call a technician the same day. Don’t run the unit - you risk destroying the compressor.
When to Call a Professional: A Practical Decision Framework
Use this guide to decide whether you need professional service now or if you can continue monitoring:
| Situation | What it means | Next step |
|---|---|---|
| AC cools normally, no visible oil, no frost, electricity bill stable | No leak (or extremely slow leak) | Keep monitoring. Perform visual checks quarterly. |
| Weak cooling, slight frost on indoor line, oil stain on connection | Small leak, early stage | Call a technician. Early repair is cheaper than waiting. |
| AC barely cools, thick ice on coil, heavy oil residue, high electric bill | Large leak, immediate risk to compressor | Call a technician today. Do not run the system continuously. |
| You detect a leak with halogen detector or soap test | Leak location identified | Call a technician with location marked. You’ve saved them diagnostic time. |
| System is older than 15 years and low on charge for first time | Possible end-of-life leak | Get a quote to repair vs. replace. Consider replacement if unit is near retirement. |
The truth about DIY repair: You cannot legally fix a refrigerant leak yourself in the United States. Even if you buy refrigerant online, charging a system without EPA certification is illegal. The EPA’s certification requirement exists for environmental and safety reasons. Licensed HVAC technicians spend time learning proper recovery, recycling, and handling procedures according to ASHRAE standards. A technician visit for leak detection and repair is not a luxury - it’s the only legal path forward.
Common Mistakes That Make Refrigerant Leaks Worse
Many homeowners make choices that escalate a minor refrigerant problem into a major one.
Running the system while low on refrigerant: This is the biggest mistake. Your compressor needs refrigerant flowing through it to stay cool. When you run a low-charge system, the compressor overheats and can seize or burn out. Repair bills jump from $500 (repair leak plus recharge) to $2,000 (new compressor plus repair leak plus recharge). The fix is simple: if your system isn’t cooling, turn it off and call a technician. Don’t “try to make it through the summer.”
Assuming you can seal the leak yourself: Some homeowners buy “AC leak sealers” sold in auto-parts stores - products containing chemicals that claim to circulate in your refrigerant and seal small leaks. Most HVAC professionals warn against these products. They can clog expansion devices, contaminate refrigerant lines, and create sticky residue that makes future service difficult. You cannot remove these sealants - they’re permanent once added. Technicians will refuse service or charge extra to flush the system. A professional repair is cheaper than this shortcut.
Only addressing the symptom, not the leak: A technician arrives, recharges your refrigerant, and leaves. Two months later, your system is low again. This happens when the underlying leak wasn’t found and sealed. Always require your technician to locate and repair the leak, not just top off refrigerant. If a technician suggests recharging without finding the leak, ask why and get a second opinion.
Waiting for the system to completely fail: Some homeowners ignore weak cooling and high electric bills for months. By the time they call a technician, the system is completely empty and the compressor has run long enough to accumulate damage. Catching a leak within the first month saves you money and extends the life of your equipment.
Ignoring pressure readings: If you have a manifold gauge set hooked up, low pressure is a clear signal of low refrigerant. Some homeowners ignore the numbers and run the system anyway, assuming it will “catch up.” It won’t. Low charge means the refrigerant is leaving the system. The only variables are how fast and when the compressor fails.
FAQ
Q: Can I add refrigerant to my AC myself?
A: No. U.S. EPA regulations require an EPA Section 608 certification to legally handle refrigerant. This certification covers proper recovery, recycling, and safe handling. Purchasing refrigerant as a homeowner is legal, but charging your system is not. If you add refrigerant without certification, you’re breaking federal environmental law. More practically, adding the wrong type, the wrong amount, or the wrong purity of refrigerant ruins your system. Licensed technicians have gauges, scales, and knowledge to get it right. This is one DIY job where the legal and practical reasons to call a pro align completely.
Q: How much does it cost to repair a refrigerant leak?
A: A typical leak repair ranges from $350–$1,200 depending on location, system size, and refrigerant type. Finding the leak costs $100–$300 if the technician has to use dye or extensive diagnostics. Sealing a simple fitting leak costs $200–$500. Soldering a pinhole leak in a copper line costs $400–$800. The refrigerant recharge itself runs $150–$400. Prices are higher for older systems that use R-22 refrigerant because R-22 is expensive and being phased out. If you know your leak location before calling, you’ll get a faster, cheaper quote.
Q: How long will my system run before the leak damages the compressor?
A: It depends on leak severity. A 1-pound-per-month leak might give you 3–6 months before compressor damage becomes likely. A larger leak of 5+ pounds per month can cause damage in weeks. The safest assumption is this: if your system is noticeably low on refrigerant, don’t run it continuously. Use it intermittently while you arrange service. A compressor replacement costs $1,000–$2,500 plus labor, which makes a few days of discomfort a worthwhile tradeoff.
Q: What’s the difference between an active leak and a sealed system?
A: A sealed system holds refrigerant indefinitely with no loss. An active leak loses refrigerant over time - whether fast or slow depends on the hole size and the pressure difference across it. You can have a system that’s “sealed enough” for a decade and a system with a pinhole that leaks noticeably in a month. Professional leak tests apply pressure to the system and monitor it to distinguish between a sealed system and one with a leak. This test is worth the $100–$200 cost if you’re unsure whether your system has a problem.
Q: Can I partially seal a leak with sealant products?
A: No. Commercial AC sealants circulate inside your refrigerant loop and claim to “plug” small leaks. They don’t work reliably and cause lasting problems. Sealants can clog capillary tubes, expansion devices, and condenser fins. Once added, they cannot be removed without a complete system flush, which costs $500–$1,000. Future technicians will see contamination and refuse service or charge significantly more. Never use these products. A real leak repair is always better than a permanent headache.
Conclusion
A refrigerant leak is one of the few AC problems where early detection genuinely saves money. The difference between catching a leak within the first month (repair cost: $500–$800) and ignoring it for a season (repair cost: $1,500–$2,500 or worse) is substantial. You now know the warning signs - weak cooling, frost on lines, oil stains, and rising electric bills. You understand which DIY detection methods are safe and which require a technician. Most importantly, you know that while you can spot a leak, you cannot legally or safely repair one yourself.
If your AC is cooling weakly or your electric bill spiked, start with a visual inspection and the soap bubble test. If you find signs, mark the location and call a licensed technician with that information. You’ll get faster service and potentially a lower diagnostic fee. If you’re uncertain whether you have a leak at all, a professional pressure test removes the guesswork. The cost of one technician visit to diagnose the problem is small compared to the cost of running a damaged system for months. Act now, and your air conditioner - and your wallet - will thank you.
Bookmark this guide and review the warning signs seasonally. Refrigerant leaks can develop in any system at any time, and catching one early always saves money.
Related reading: